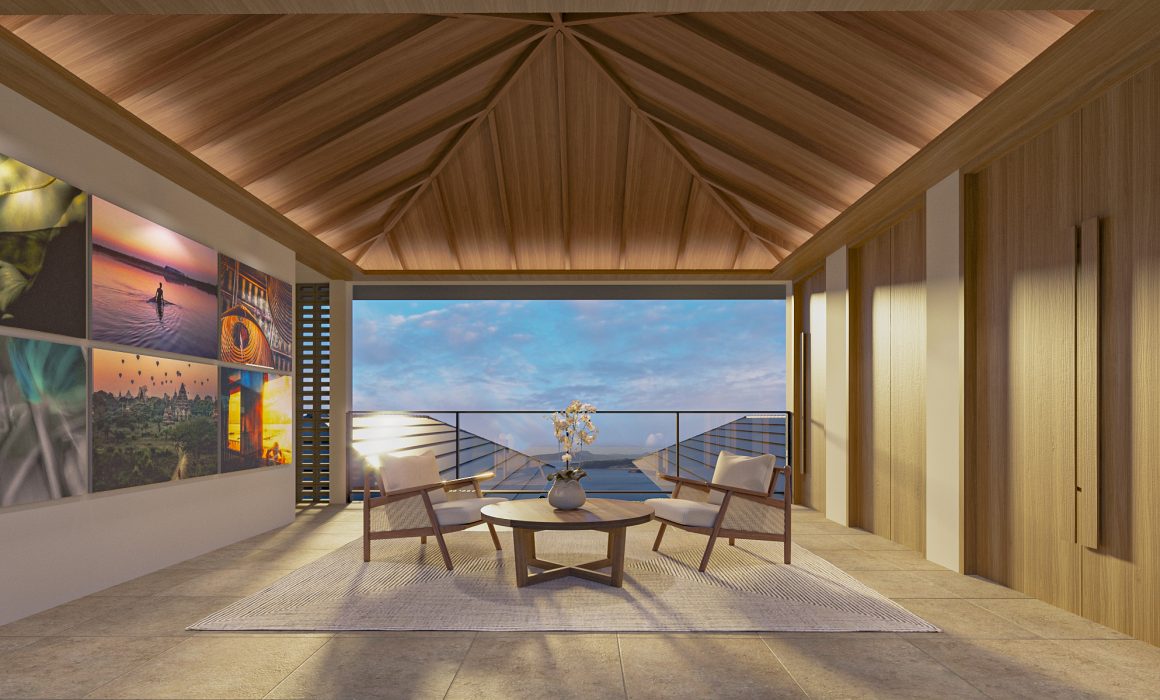
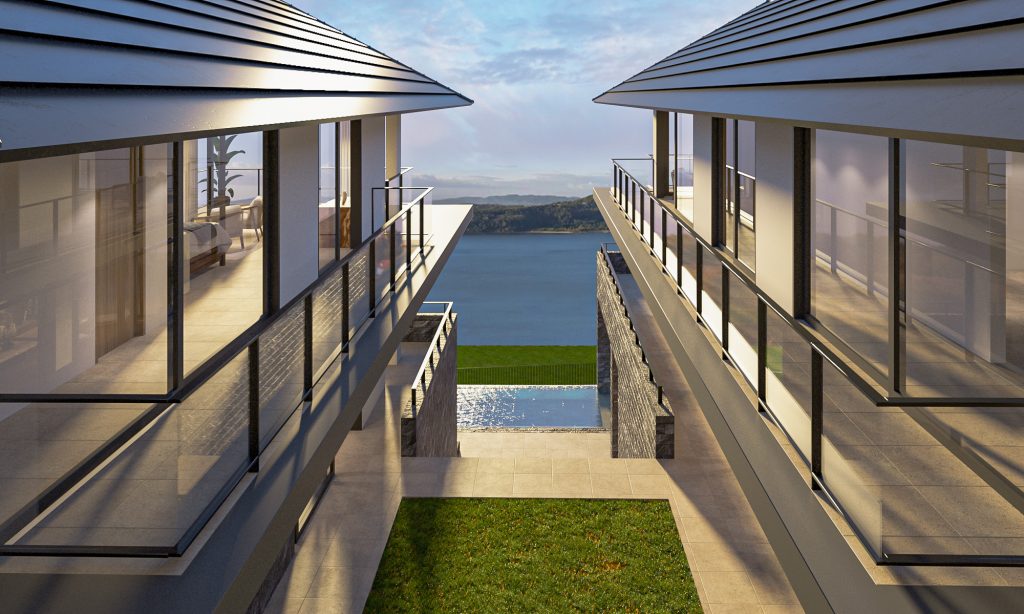
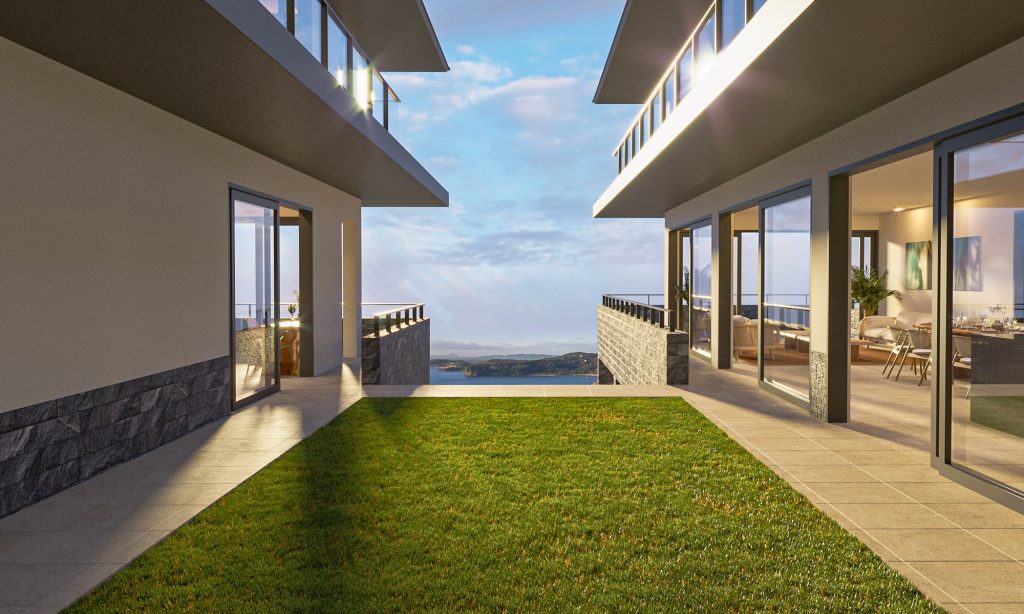
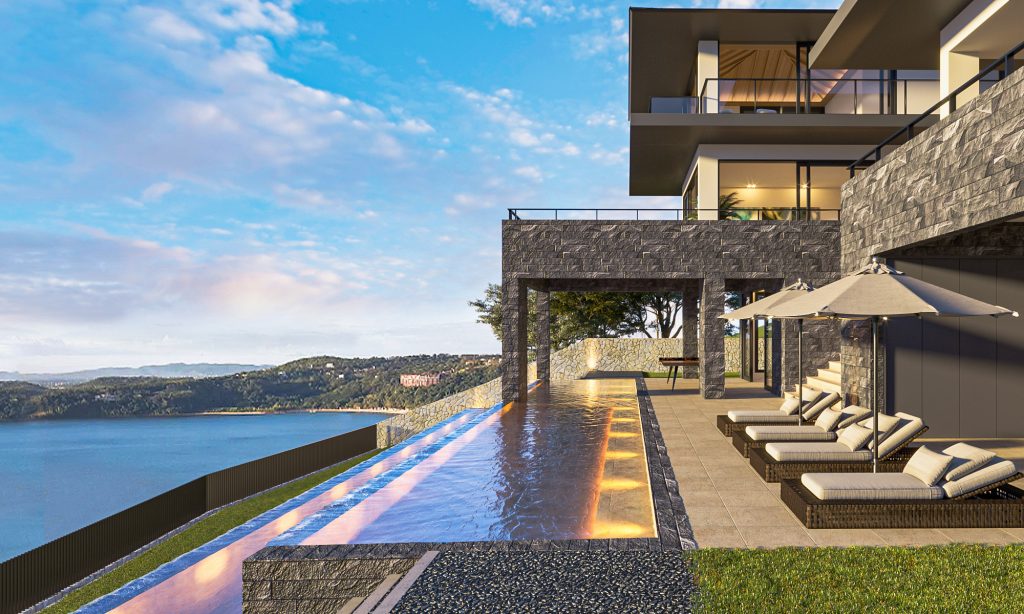
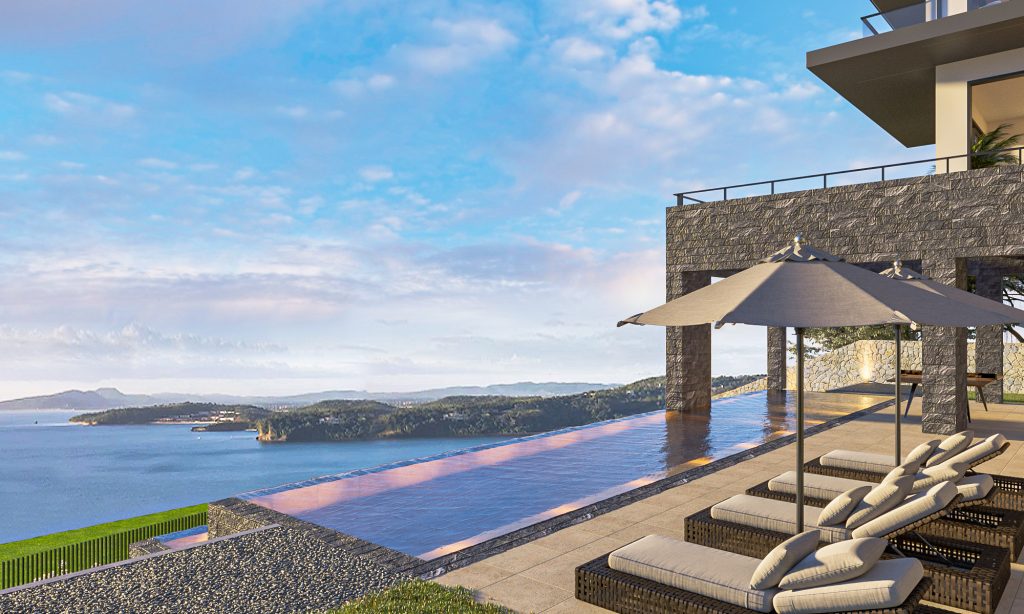
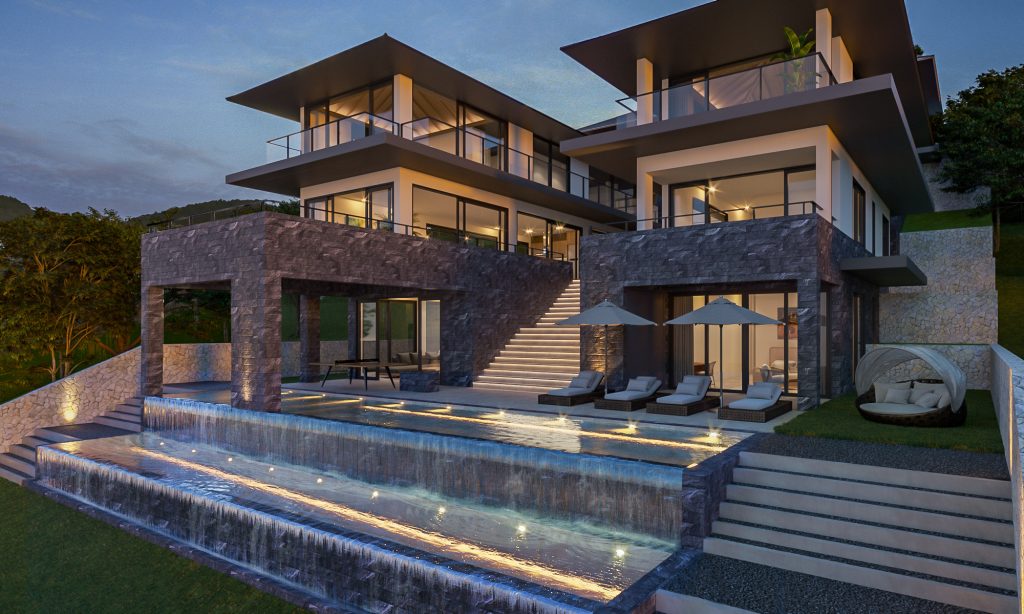
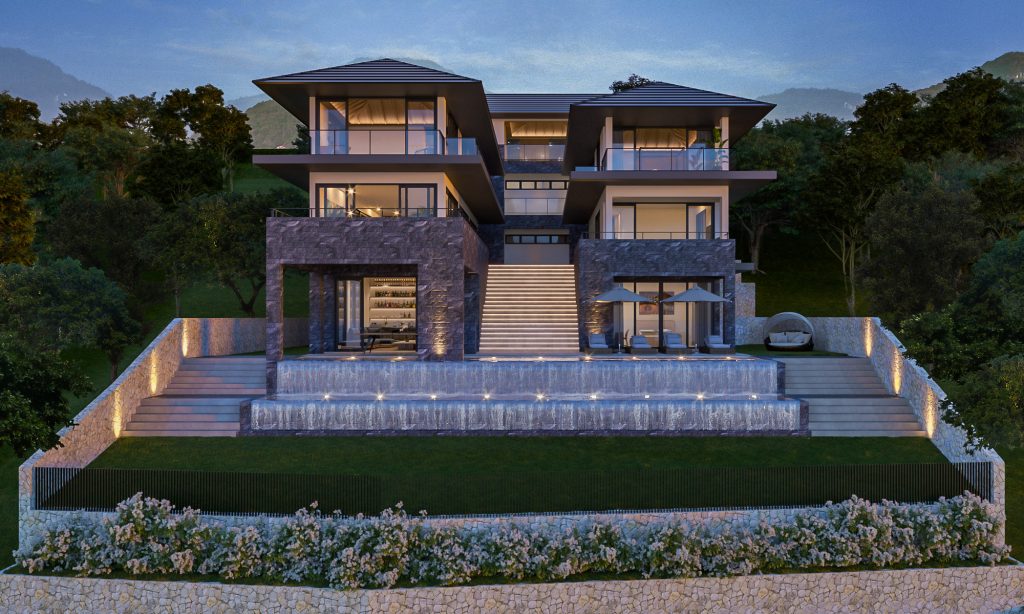
Who else misses going to coffee shops? We know we do!
This 2021, normalcy is highly dependent on where you are in the world – some countries are almost back to normal while others are still imposing lockdowns after lockdowns. The Philippines falls into the latter category, unfortunately. That said, the moment the studio got this coffee shop rendering project, we knew we had to create wonderful images out of our great love for coffee and sad longing for hours spent inside a café.
We were tasked to create a coffee shop exterior rendering for a new building along 80 Parton Road, Papamoa, New Zealand. The building developer aims to show possible coffee shop tenants the potential of the commercial space for their business.
For the project, a 3D model was provided by the client.


Usually when we get this kind of file, we do the model clean-up, texturing and mapping based on specifications, as well as detailing of landscape, entourage and interiors.
However, the first thing we always do is a google street view check. The building is still non-existent but one take-away from this quick peek is that the whole area is low lying, no high rise buildings or mountain views.
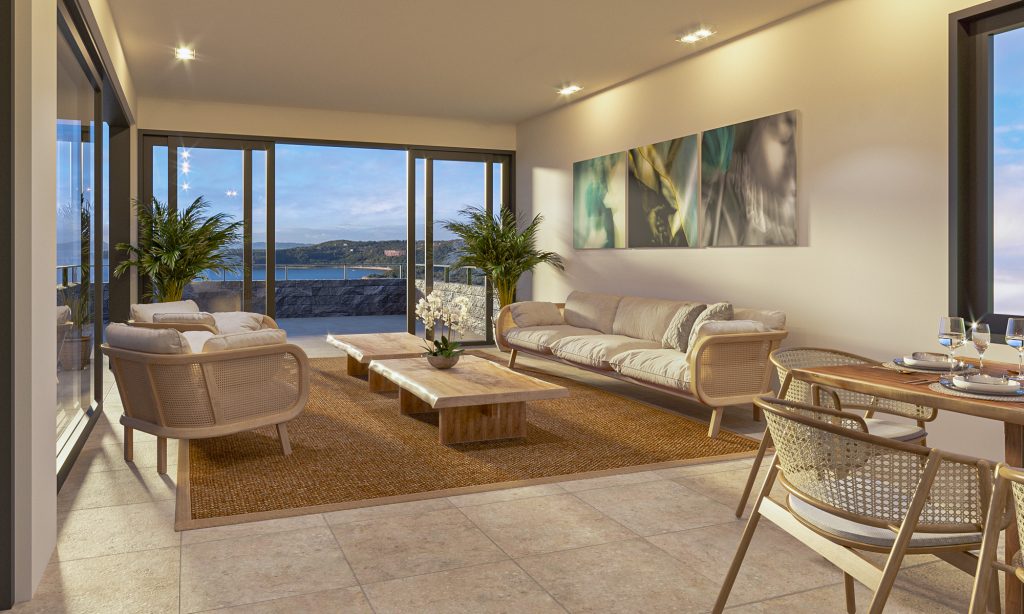
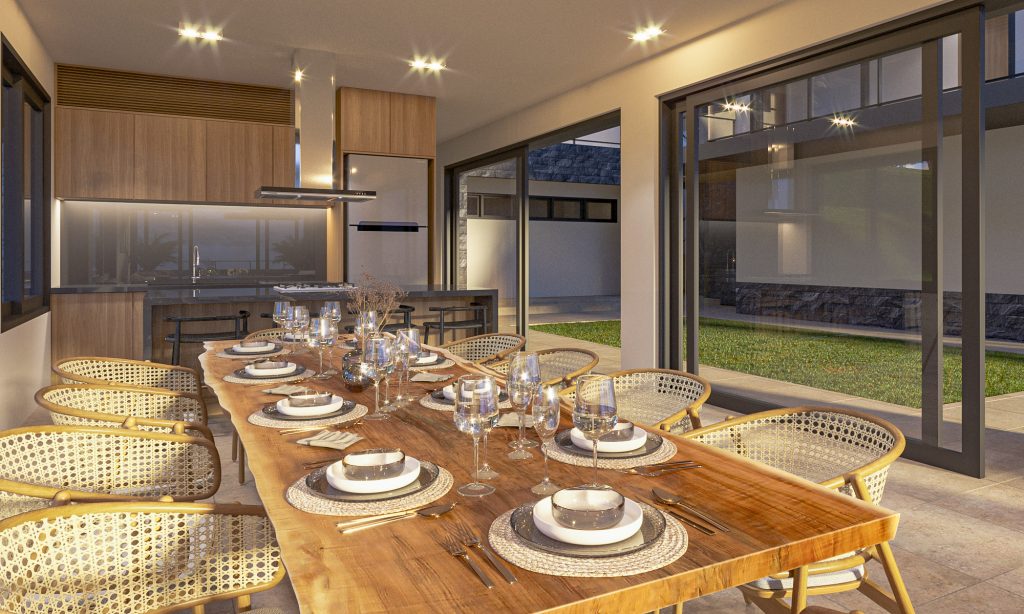
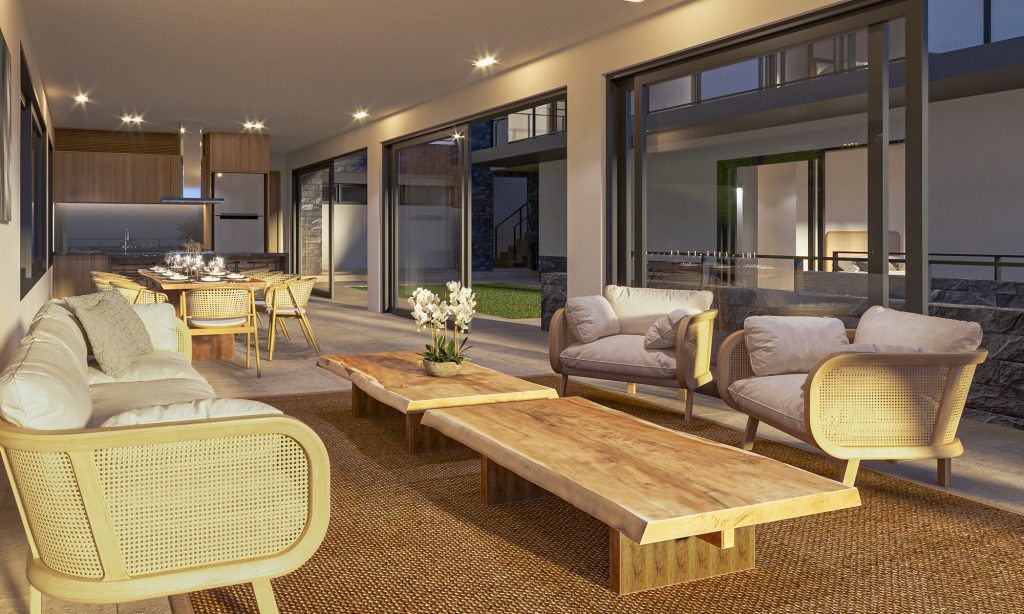
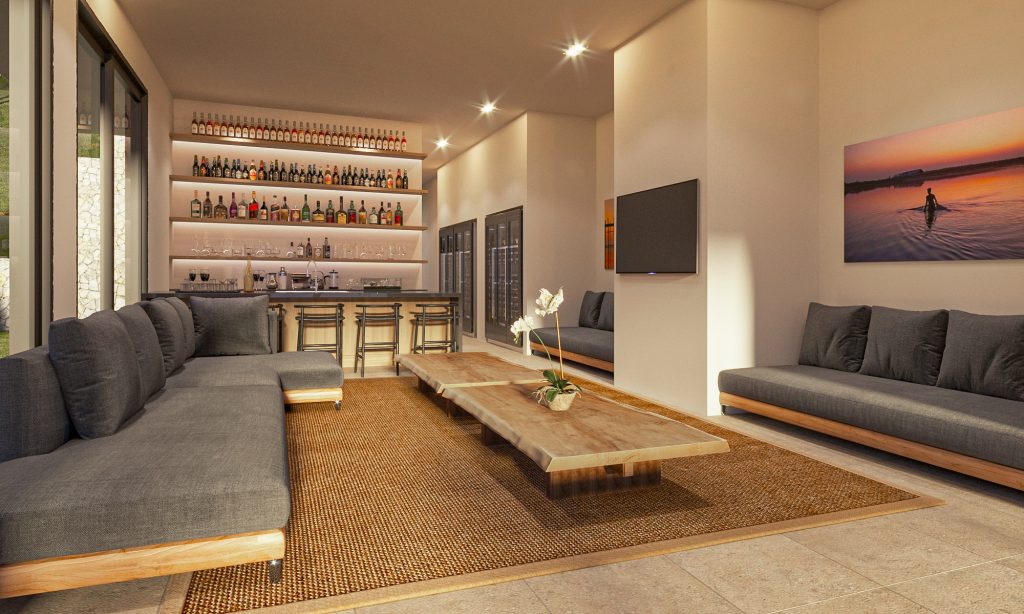
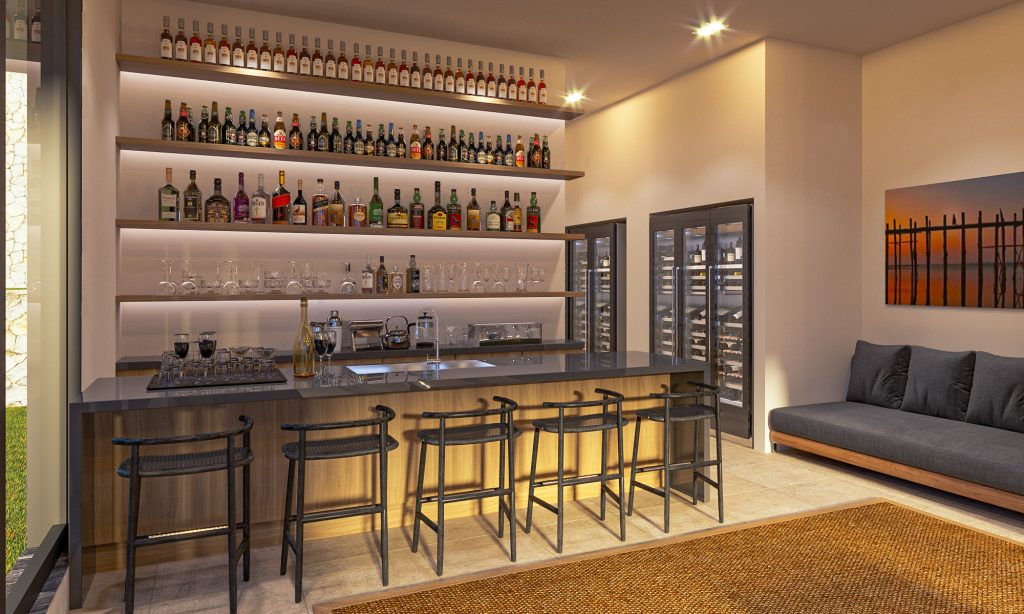
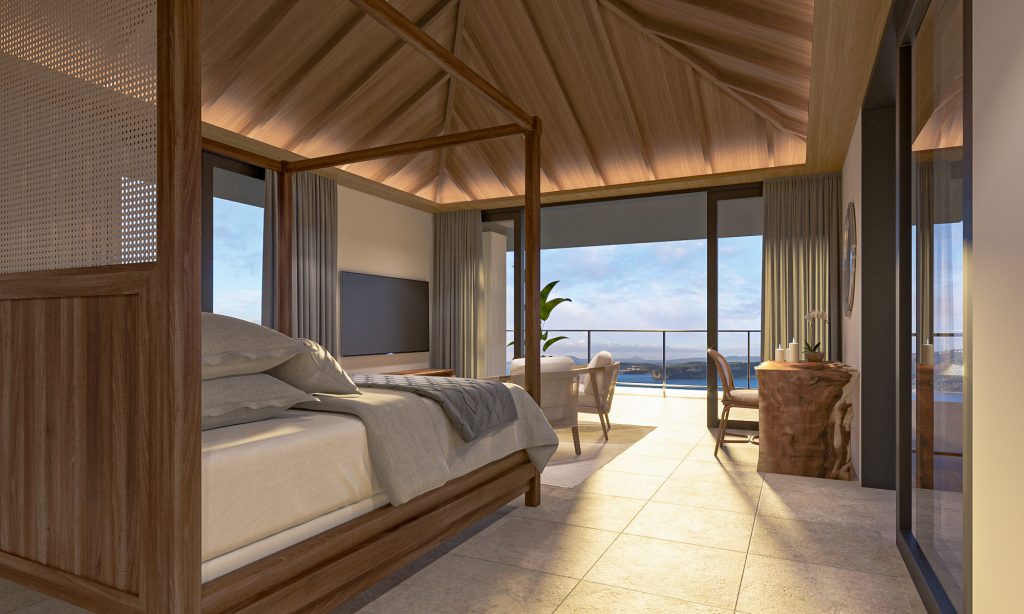
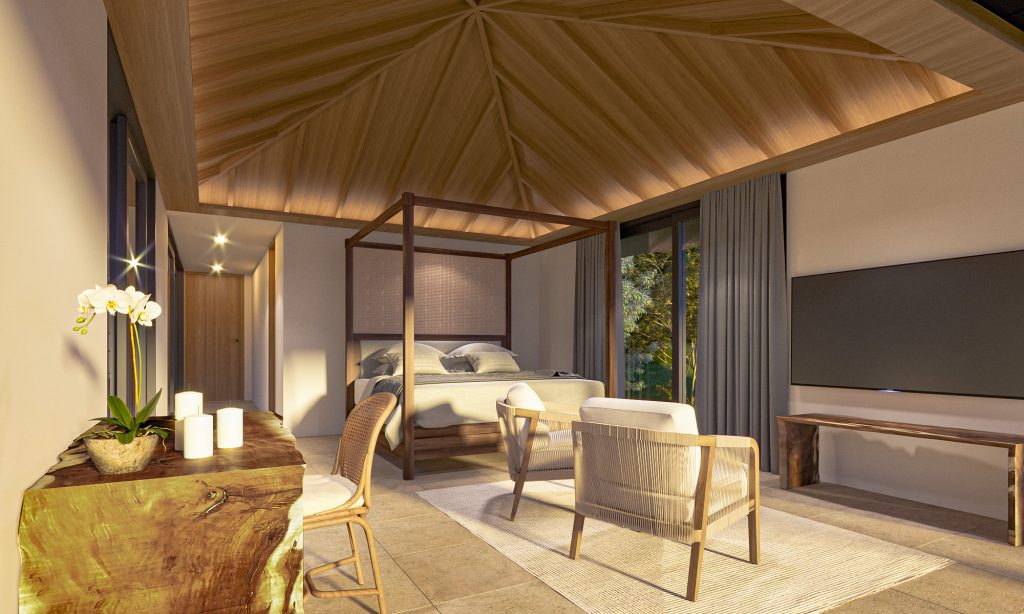
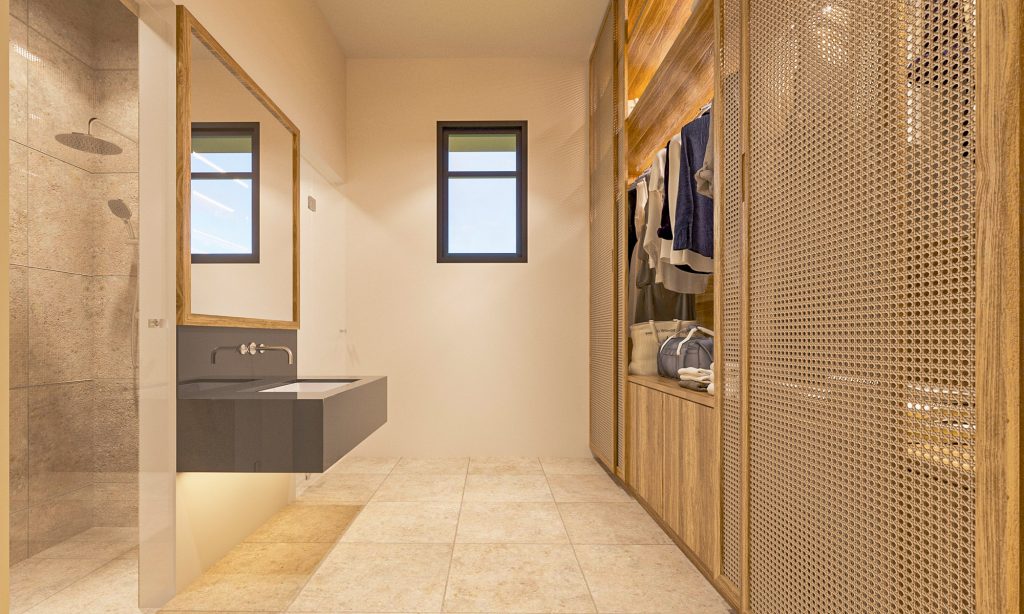
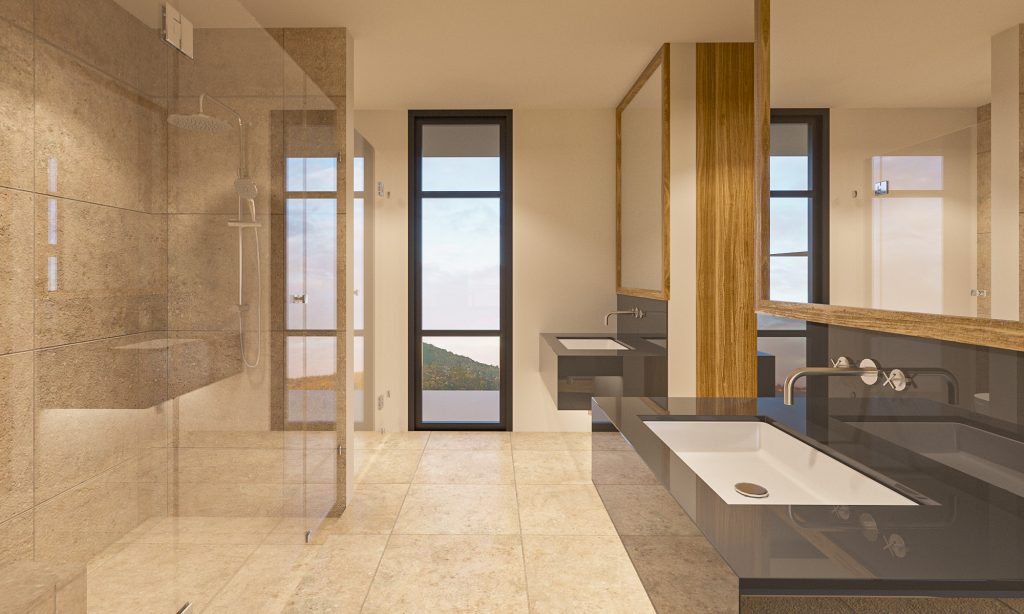
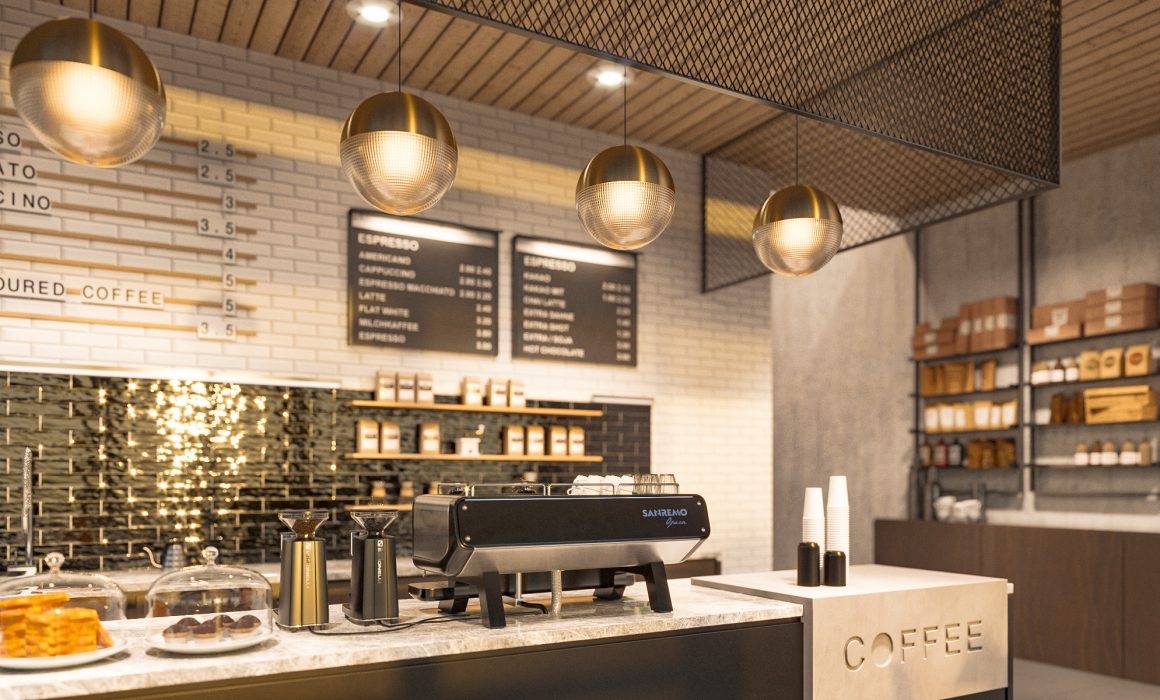
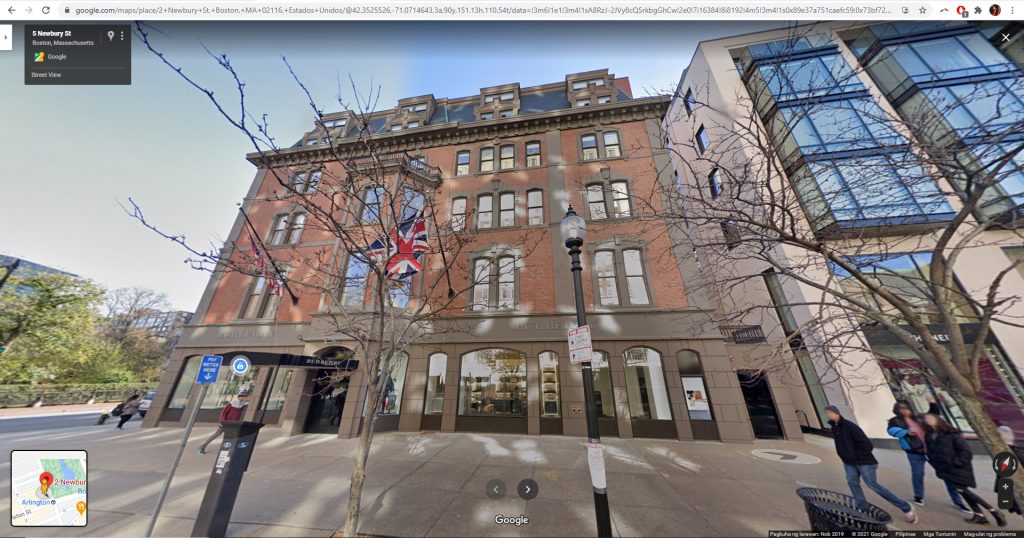
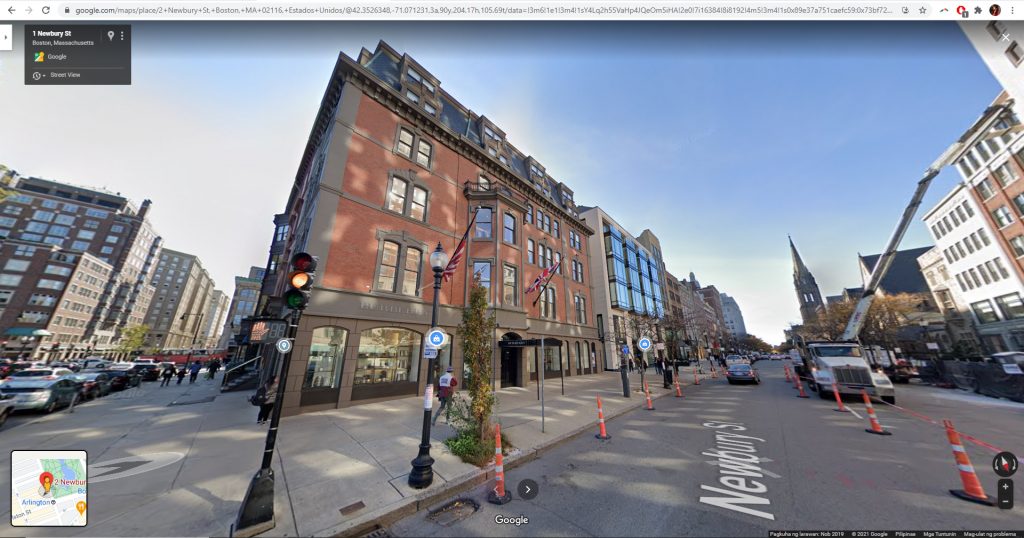
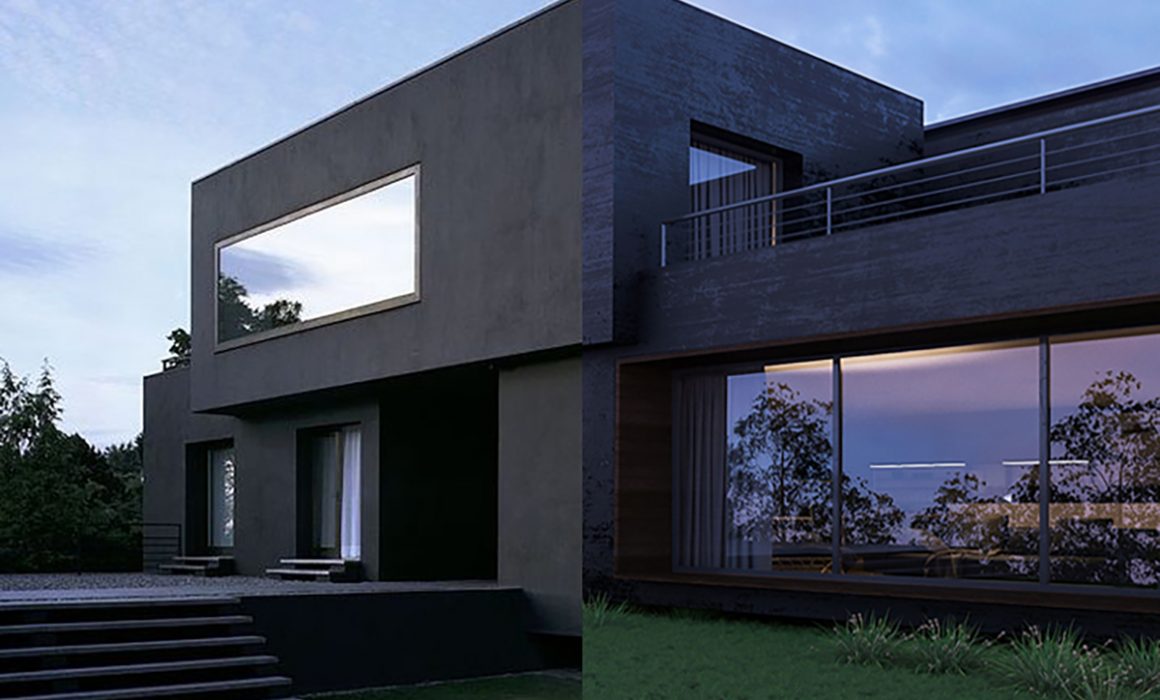
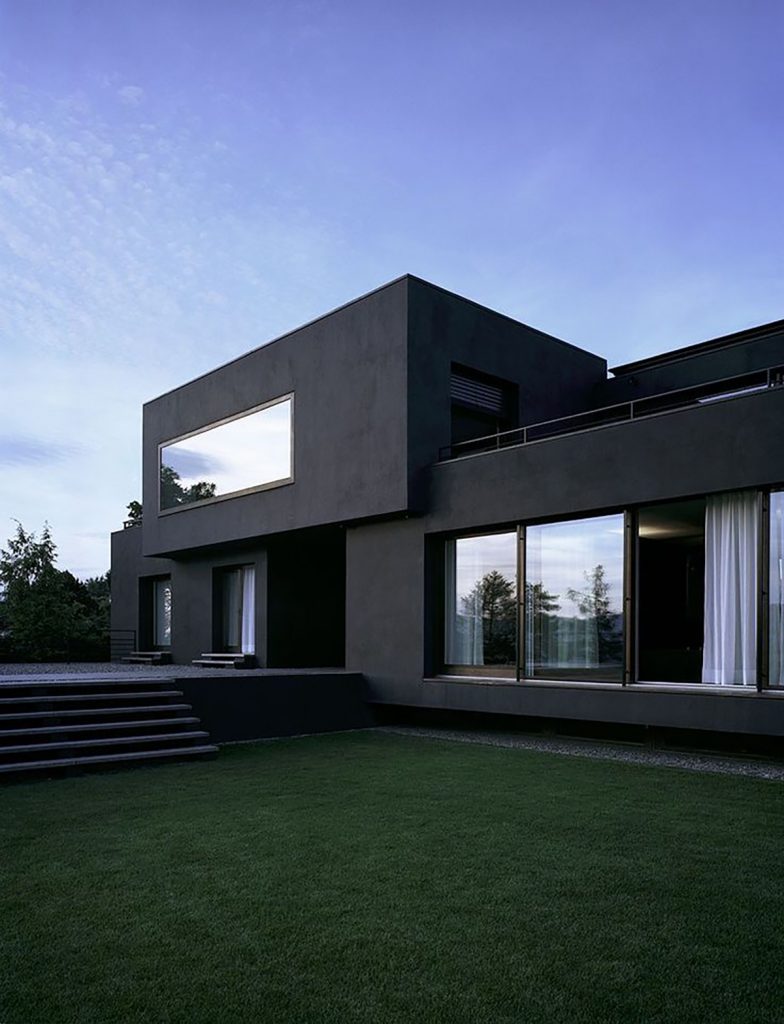
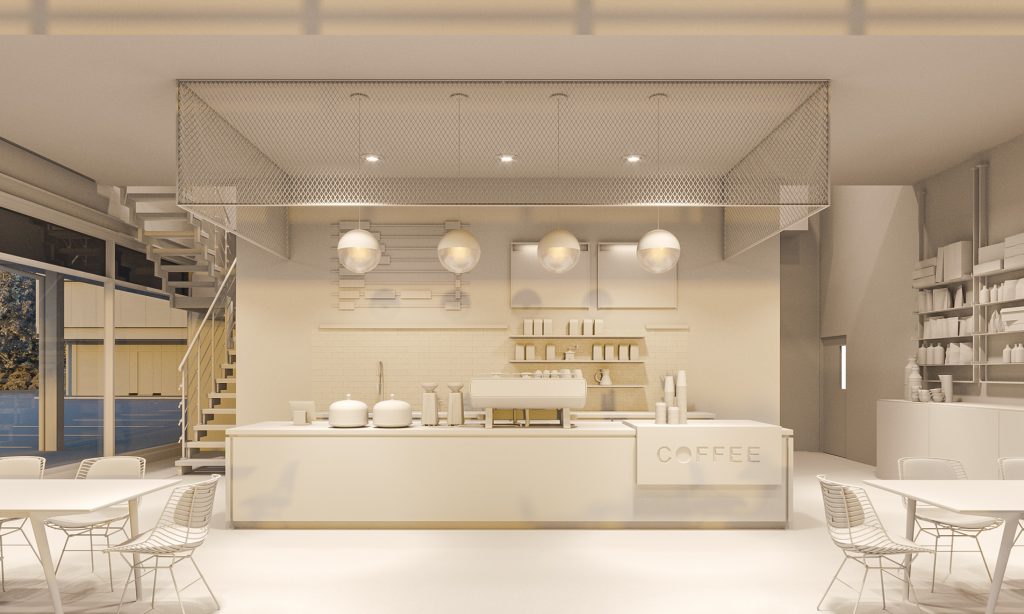
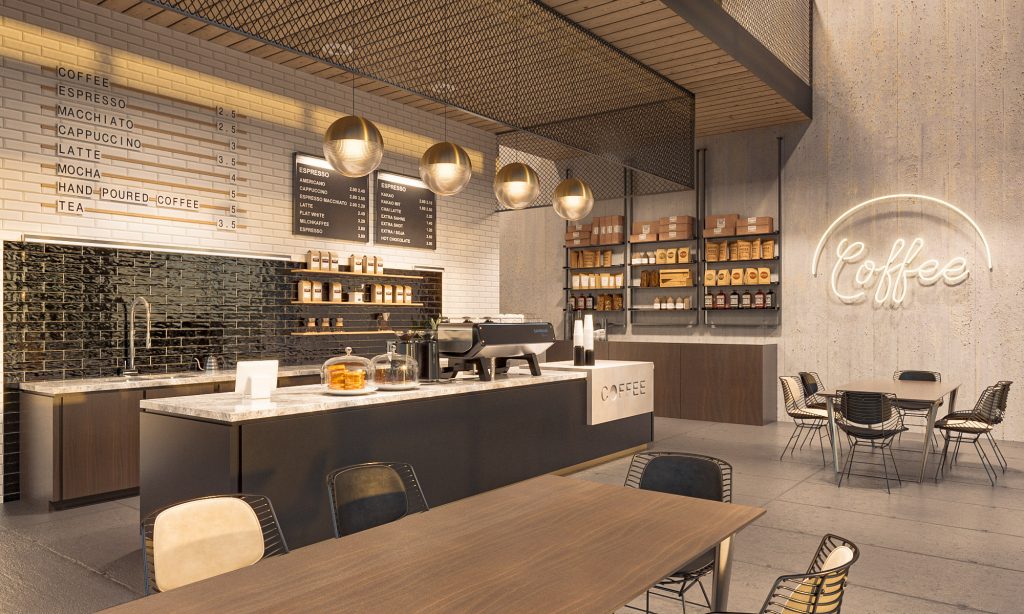
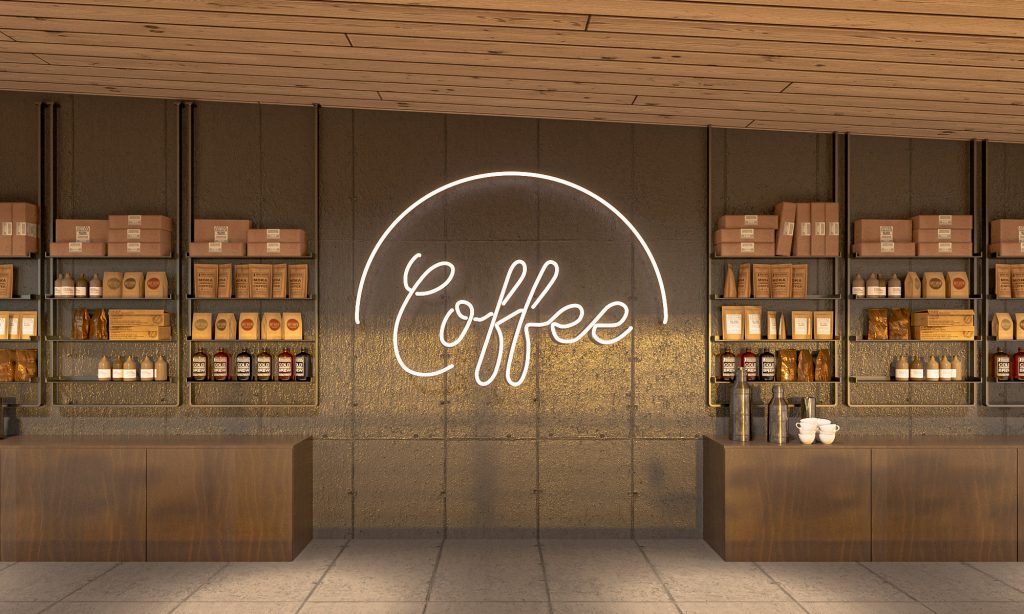
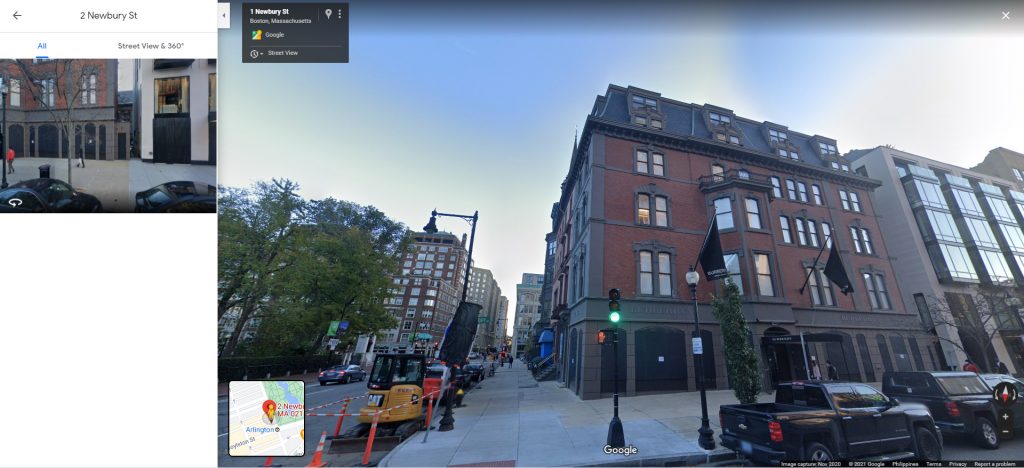
Here are some reference images we looked into. The vibe we went for is industrial but with wood tones to add warmth.
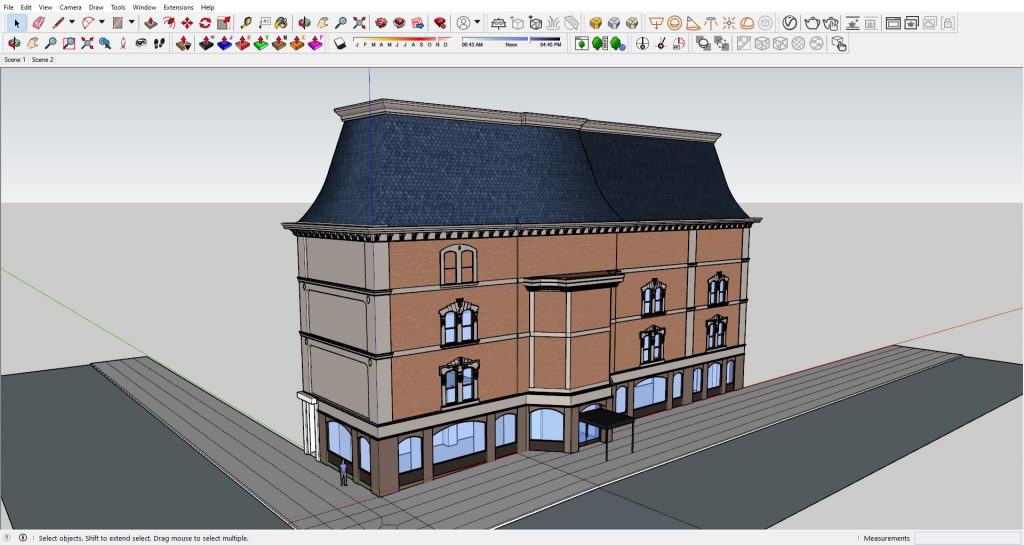
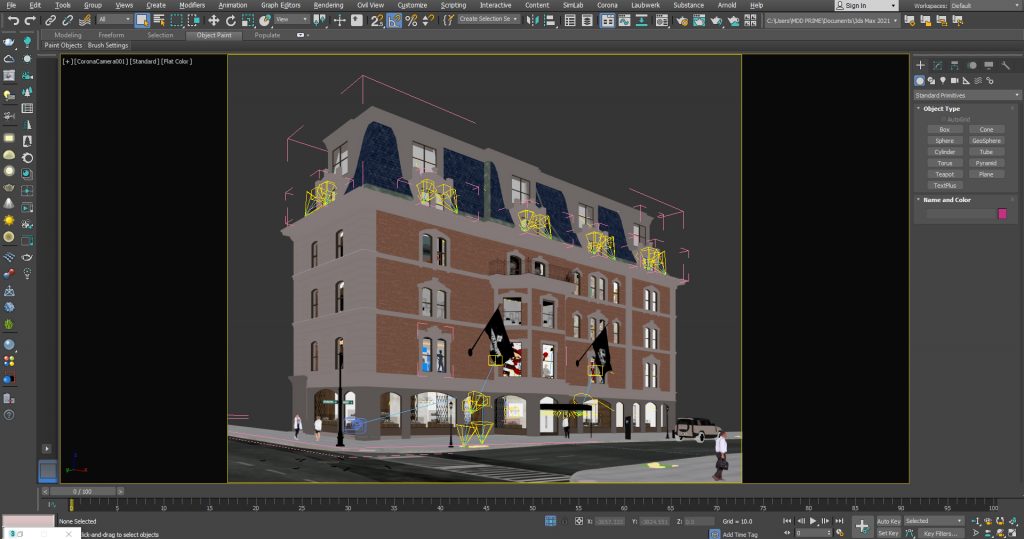
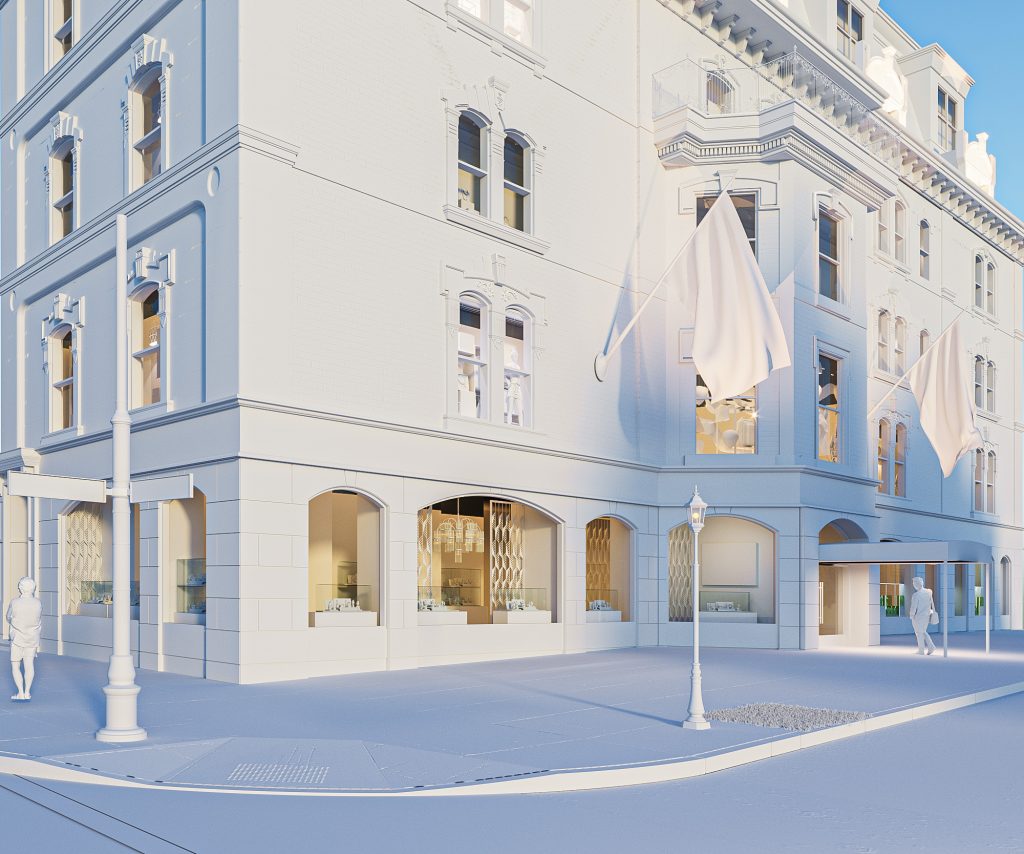
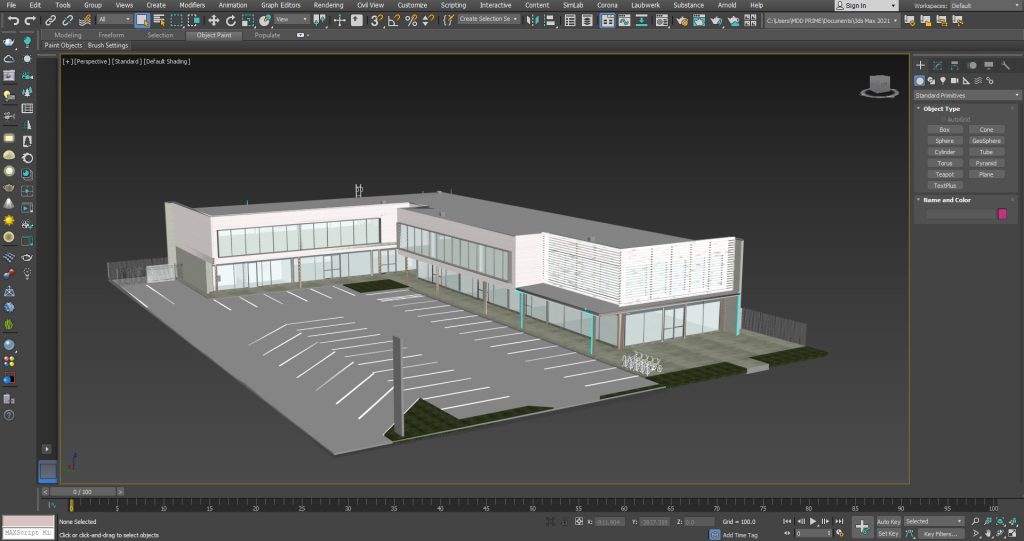
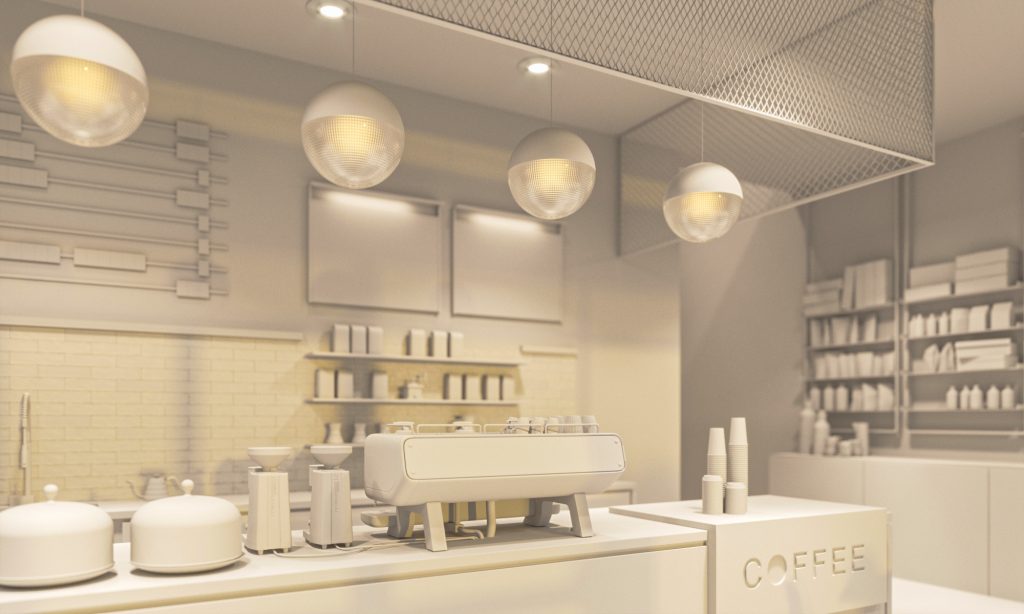
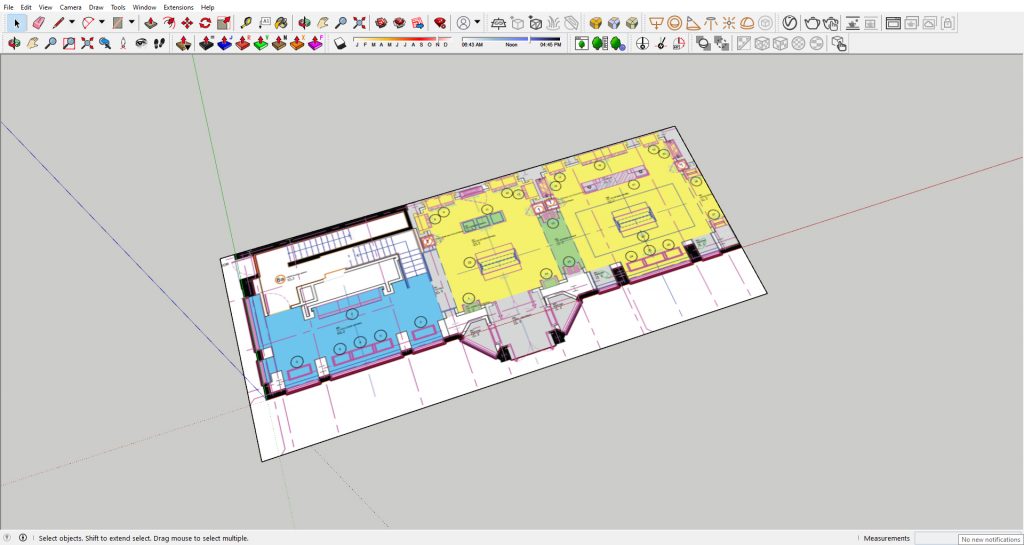
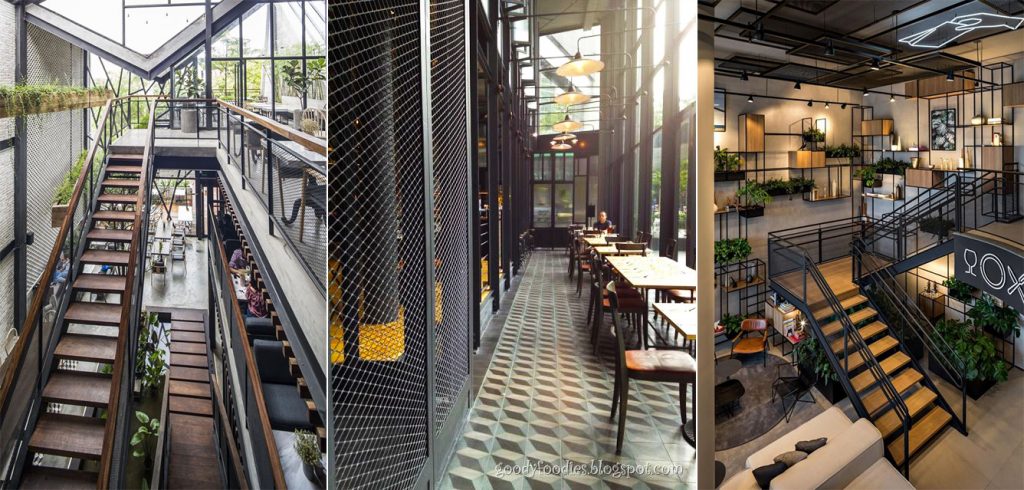
Here is a screenshot of our 3D model file after some work done. Detailing is definitely the most tedious part of the process. We always put a lot of effort in this step because we believe details make or break a rendering. 
Some clay render tests below. We had our fun and added some extra views. 


FINAL IMAGES


Hope you like this set!
Go ahead and make that cup of coffee.
One memorable Architectural 3D Rendering commission we got a few months back is the visualization of an existing building along 2 Newbury St., Boston, MA.
A luxury watch store and a jeweler intend to lease the ground floor commercial space of said building and they want 3D renderings made to show how the storefronts and signages will look like once they occupy the space. It is quite interesting as they want to show the totality of the building and not just the leasable ground floor commercial.
Photo from Client
Easiest route is to photoshop the ground floor to reflect the clients’ storefronts and retain the upper part of the building as is – BUT the clients do NOT want that. They didn’t prefer a photoshopped version of an existing photo online because they are luxury stores and that will just look unprofessional. Besides, after a quick google search, there are no hi-res images available online. Even if there were, it isn’t acceptable to use someone else’s photo for commercial purposes unless clients buy the rights to the image or they hire a professional photographer to take new on-site photos.

Another route is to recreate everything in 3D and recreation is what we did… from the comforts of our workstation in the Philippines.
CREATING A 3D RENDERING OF AN EXISTING BUILDING FROM SCRATCH
How to start? In the studio, we work with whatever files the clients give us. Some give us full cad plans, elevations, even Revit models. Some give us concept sketches, design pegs and mood board. In this case, we were just given a copy of this conceptual plan showing leasable spaces. Okay, no one is panicking, we got this.
CHECK GOOGLE EARTH/ STREET VIEW
Our best friend ever since we got into the business of providing outsourced 3D renderings is Google Street View. We are based in Manila and we don’t usually never fly to project locations so to give us an idea of the surroundings, we turn to Google.

Usually, we just check what the streets look like to help us understand the project context and/or give us ideas for the background and foreground. In this case, we used Google street view to eyeball everything. We were not given building elevations so we did estimations and used our expertise to make things seemingly proportioned and looking just about right.
IMPORT FLOOR PLAN OR ANY IMAGE THAT CAN BE USED AS BASIS OF SCALE
We imported the plan image in Sketchup and scaled it according to measurements we got from Google Earth. This plan size will be the basis of all wall heights, window sizes, roof scale, etc.

BUILD UP THE PLAN.
Start by protruding walls, setting floor boundaries then adding windows and doors…
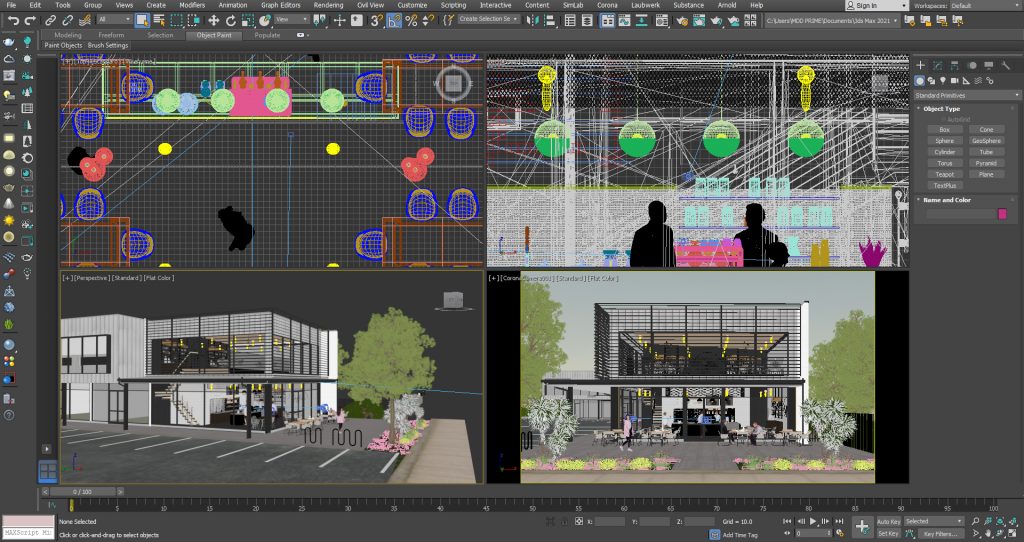
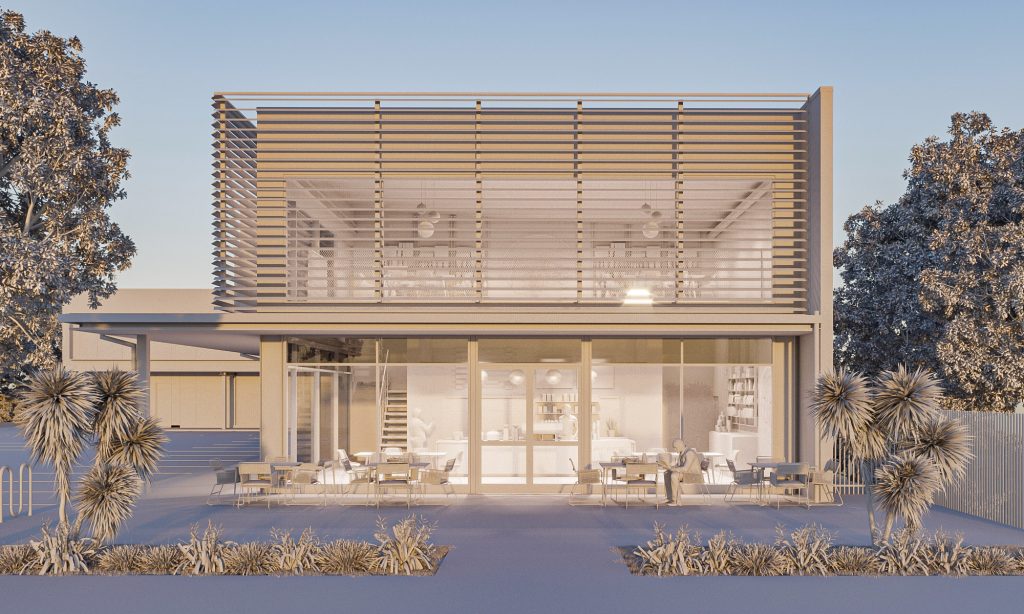
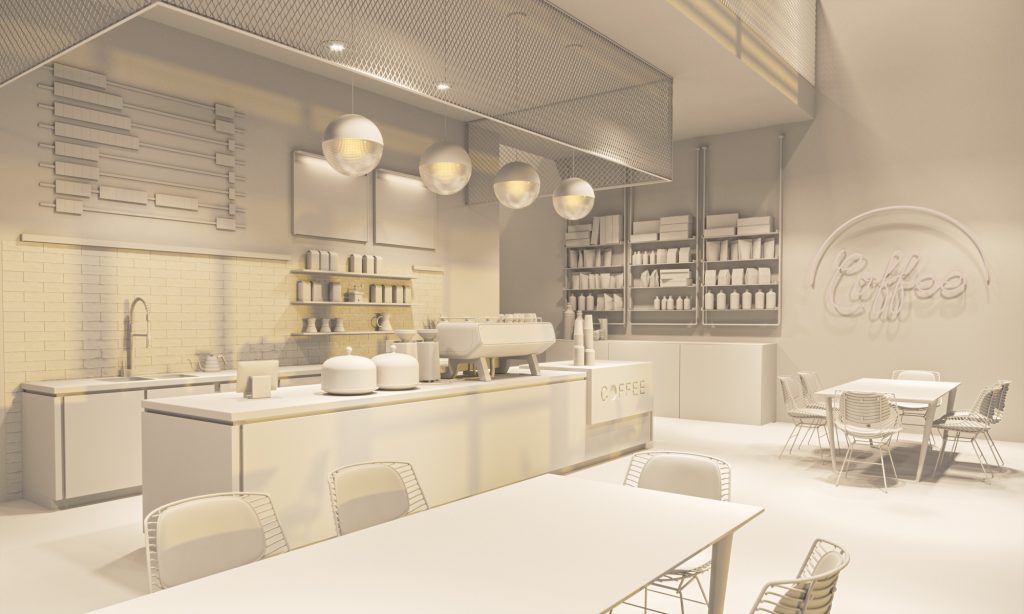
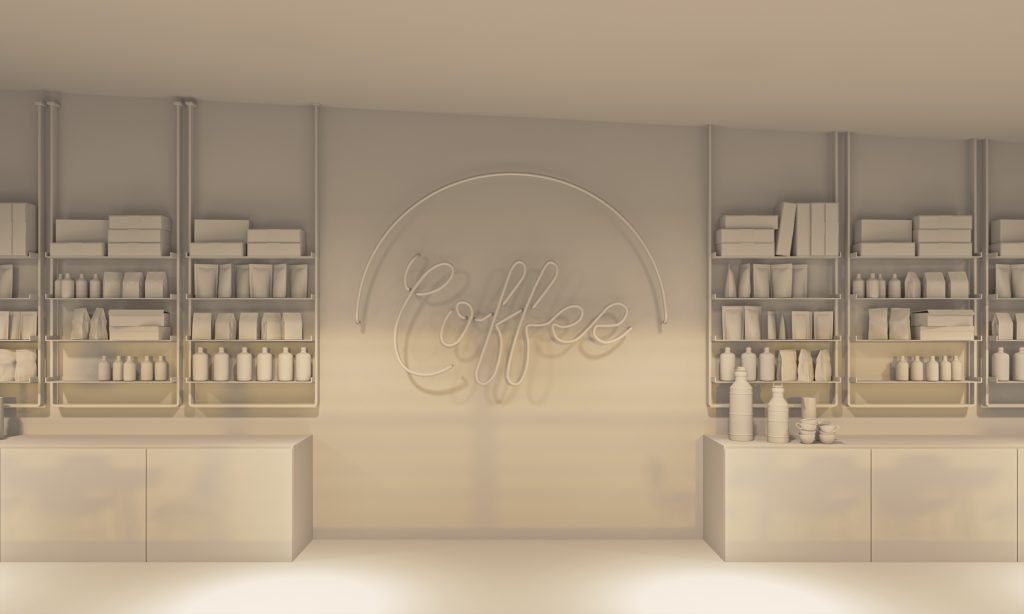
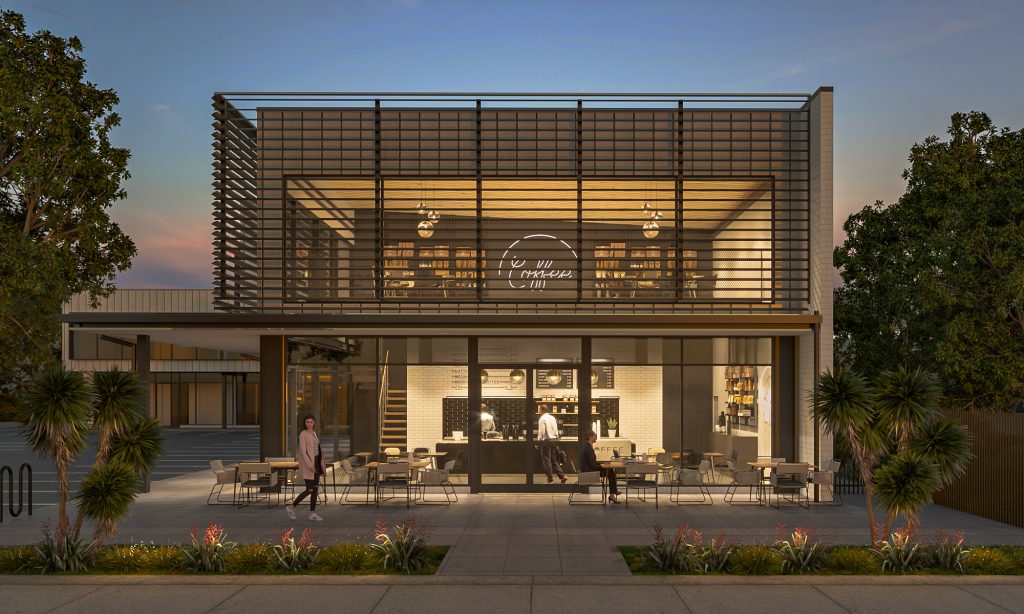
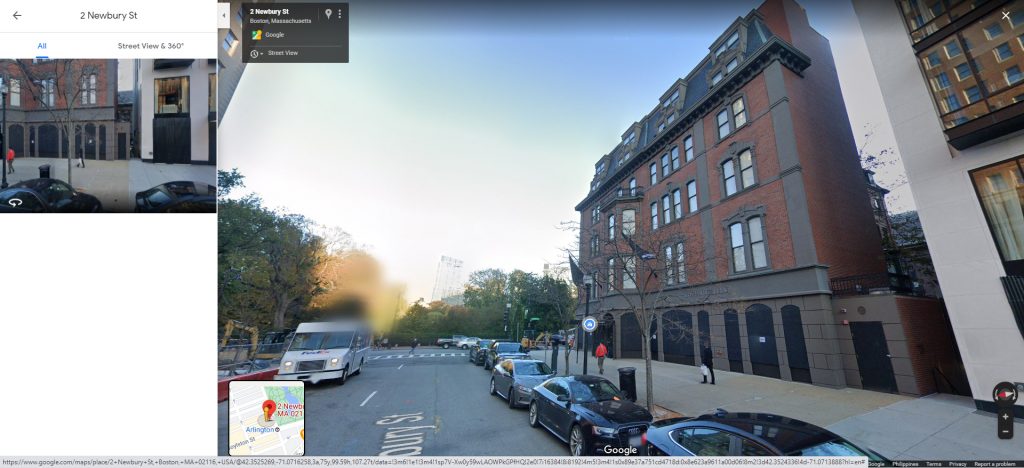
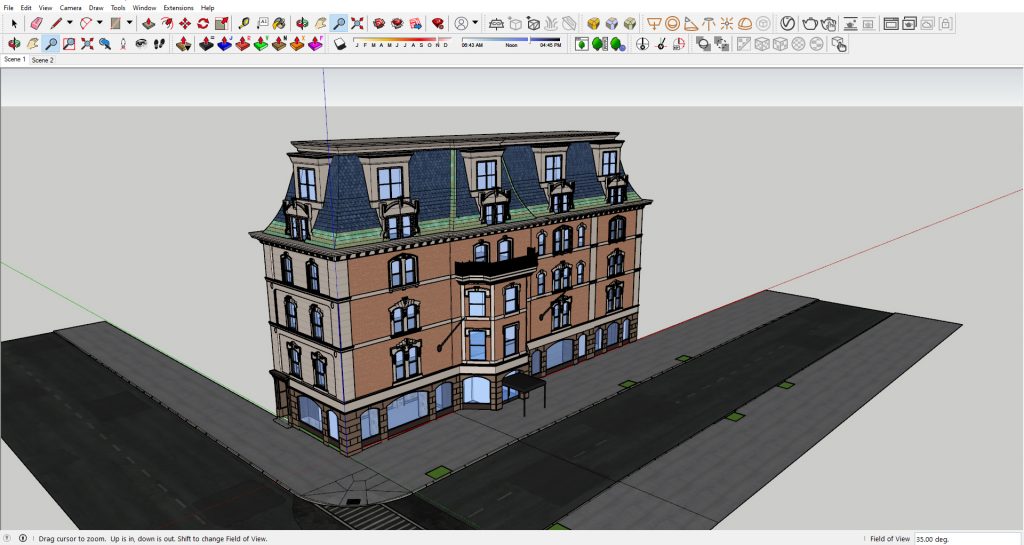
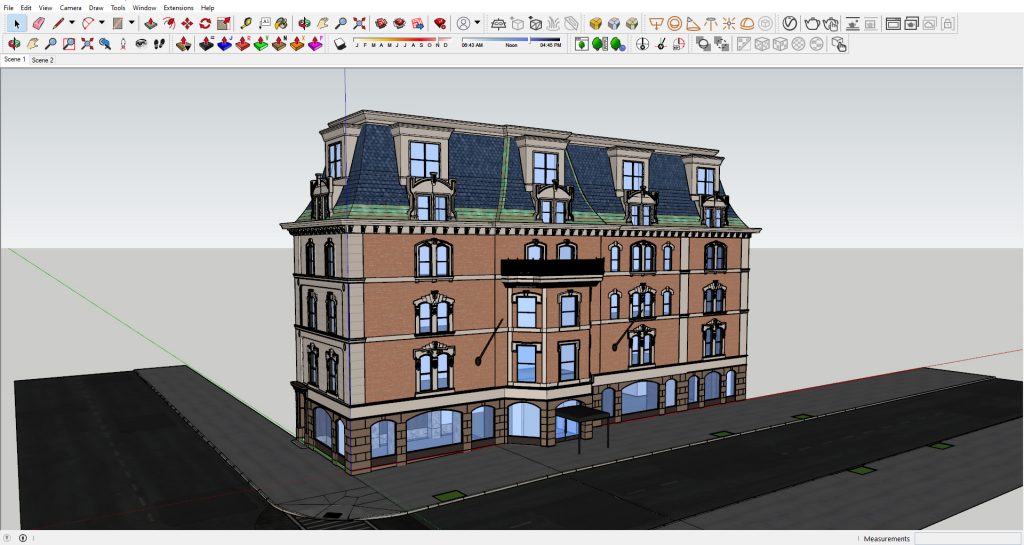
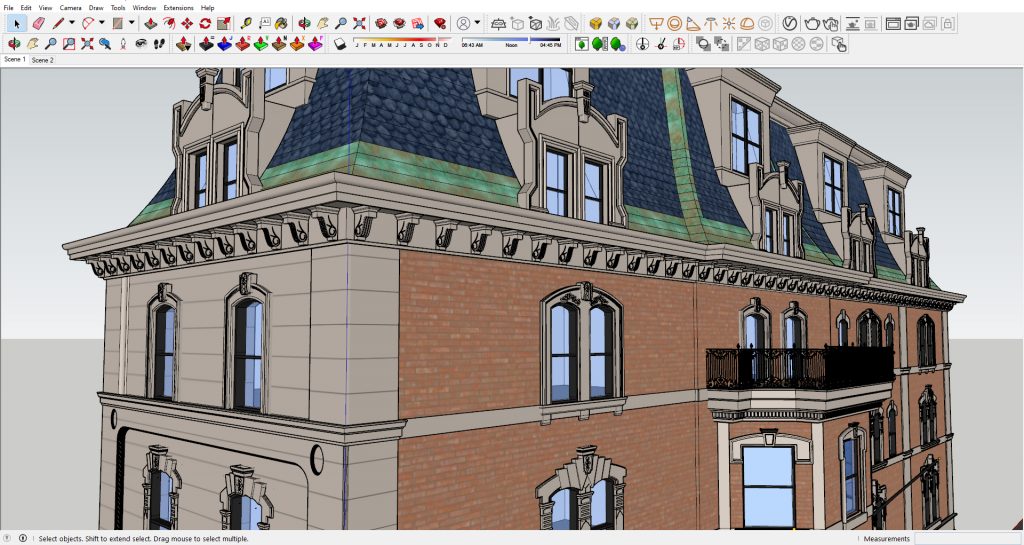
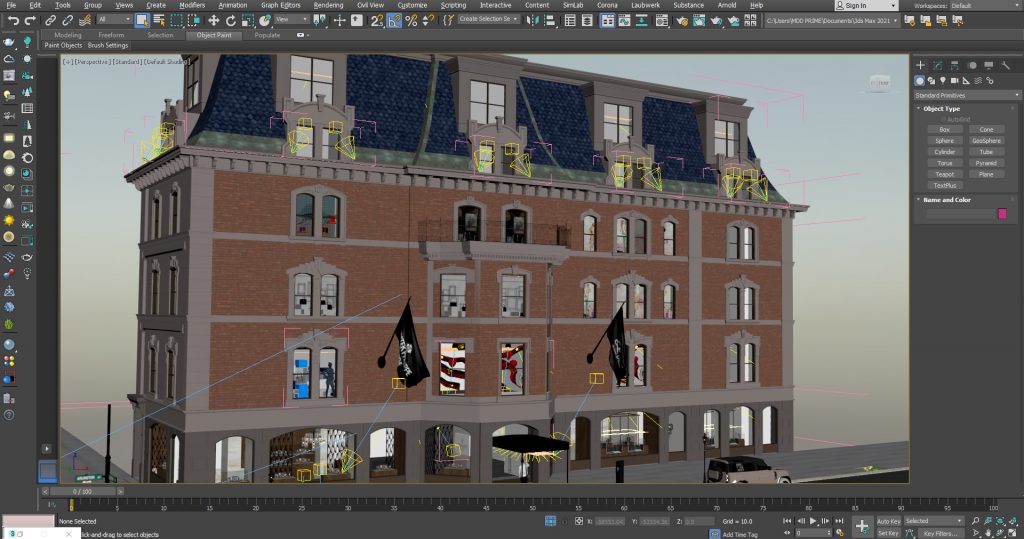
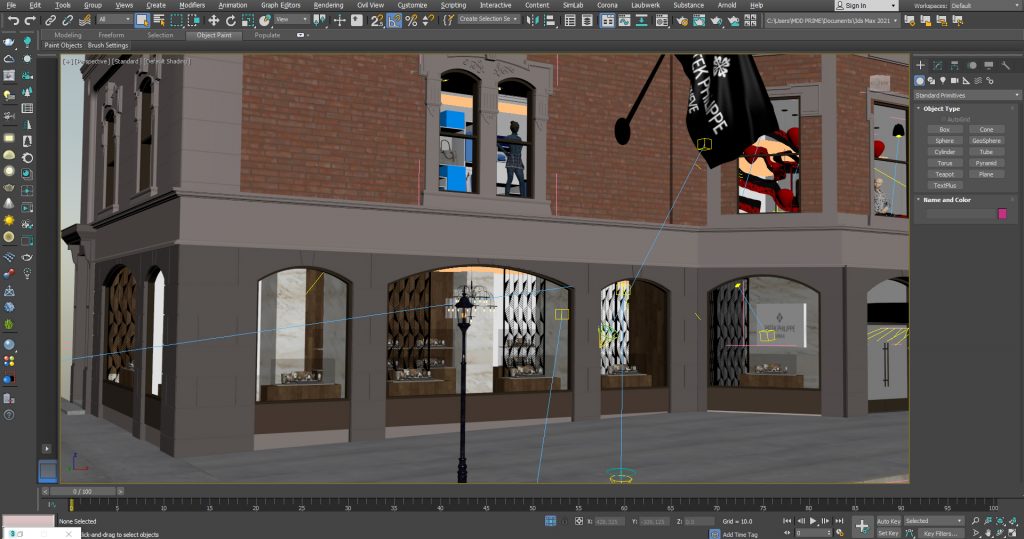
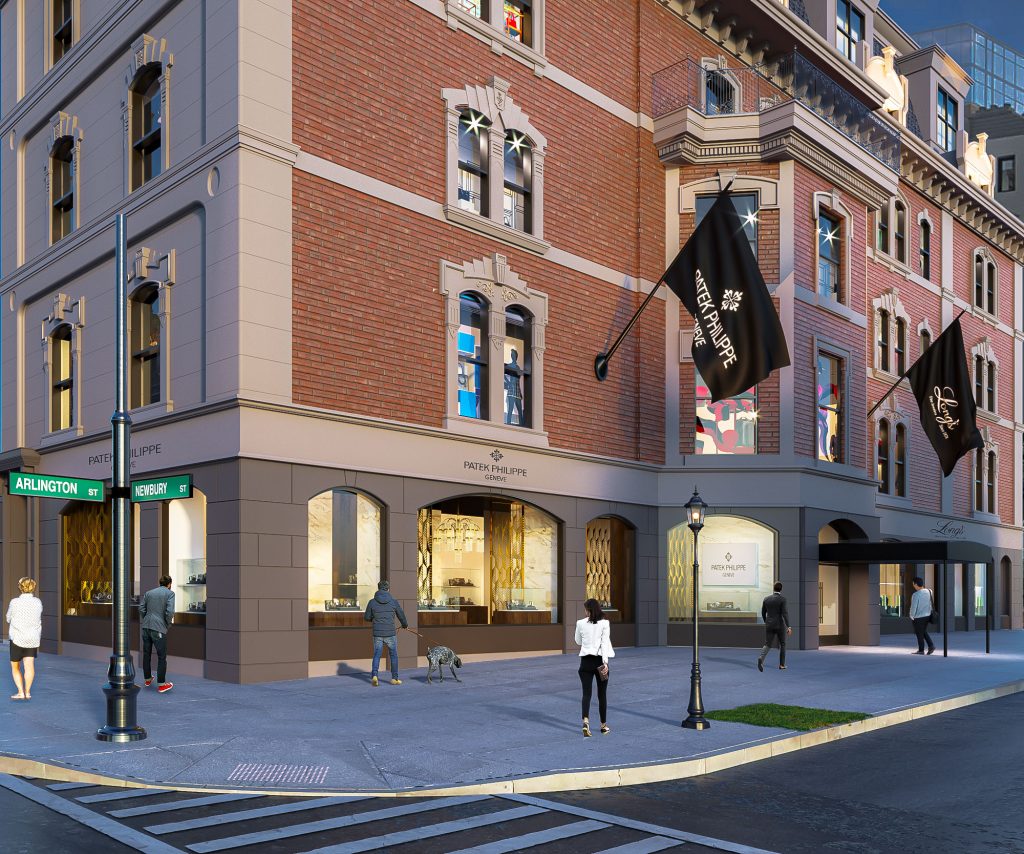
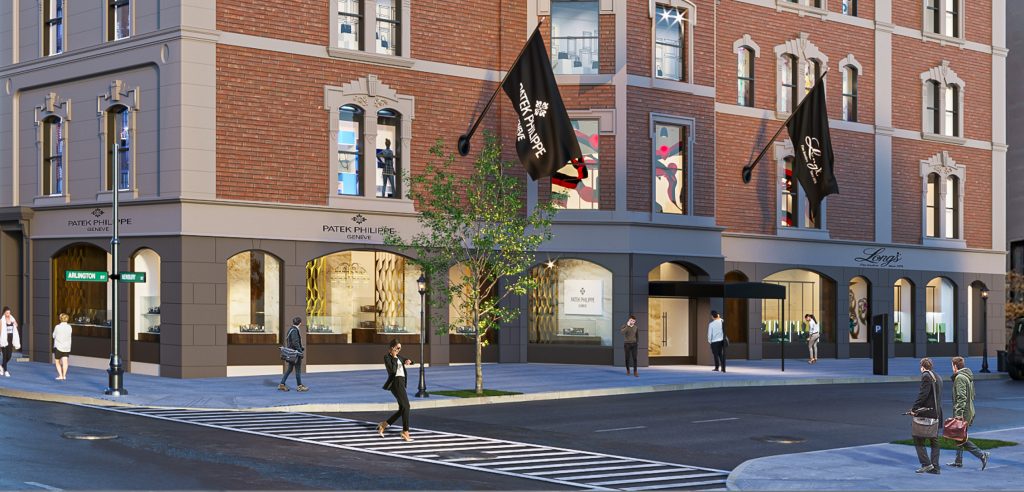
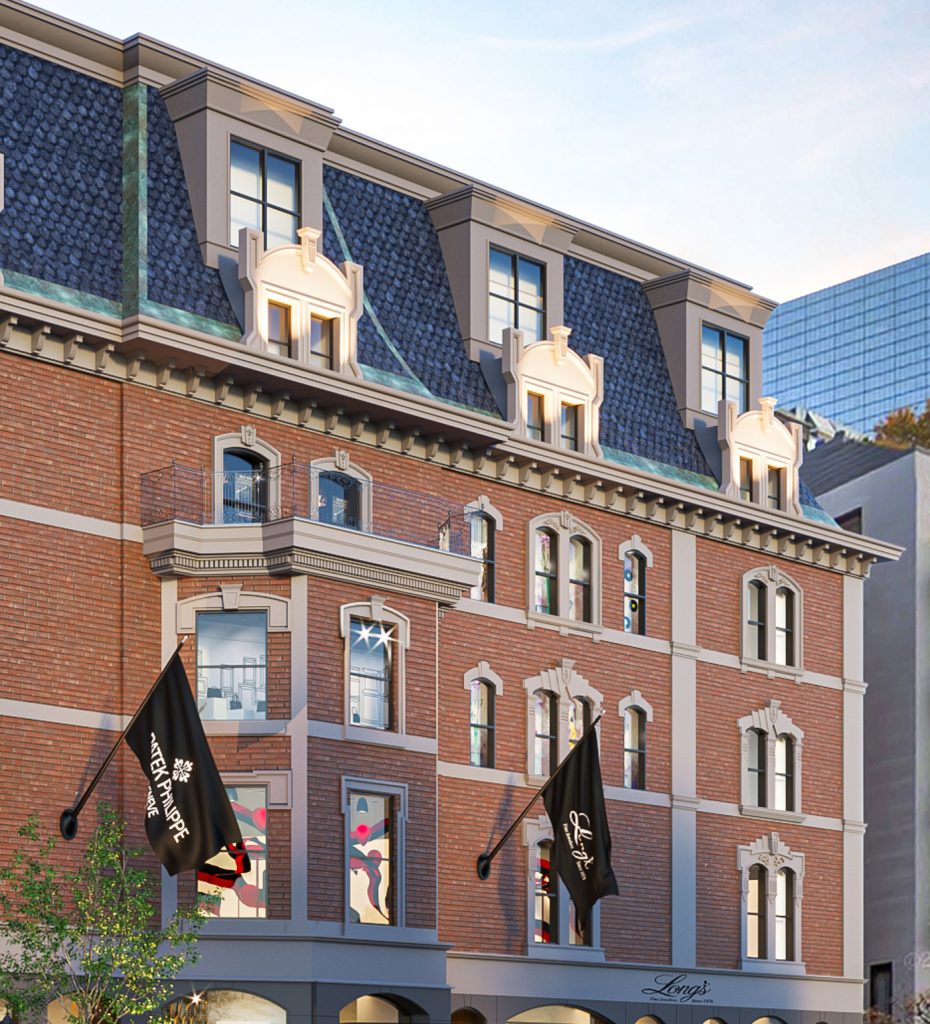
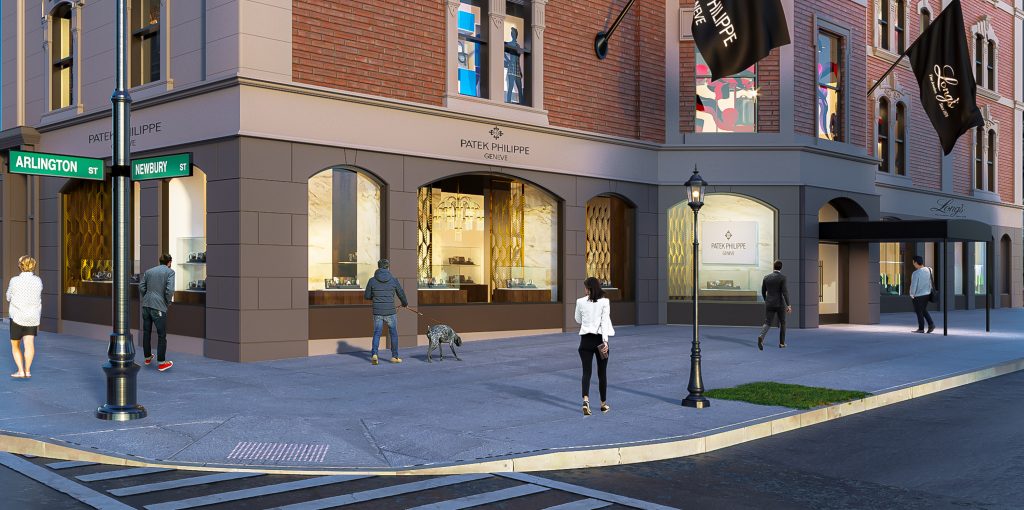
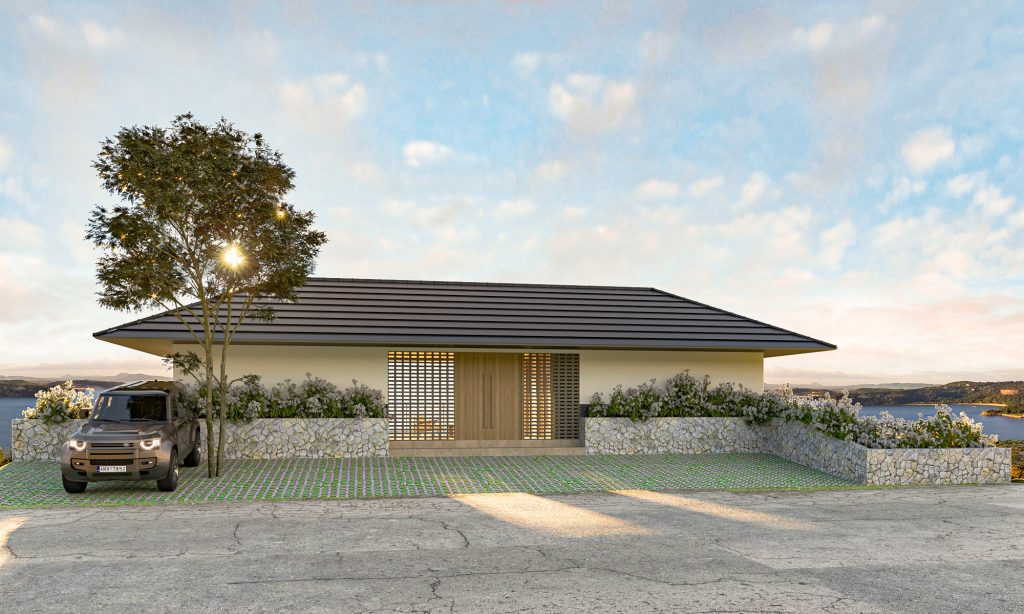
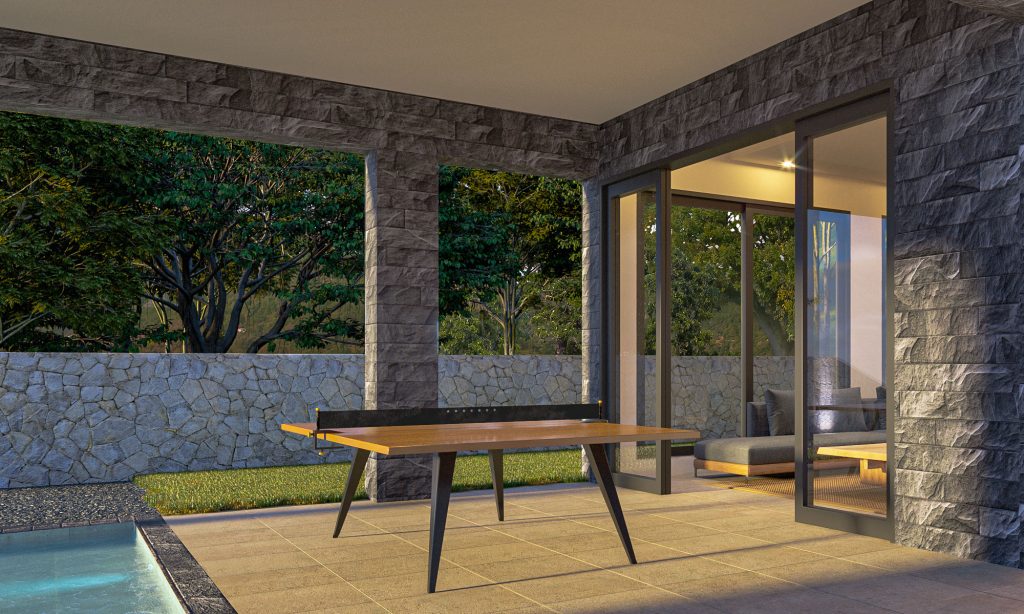
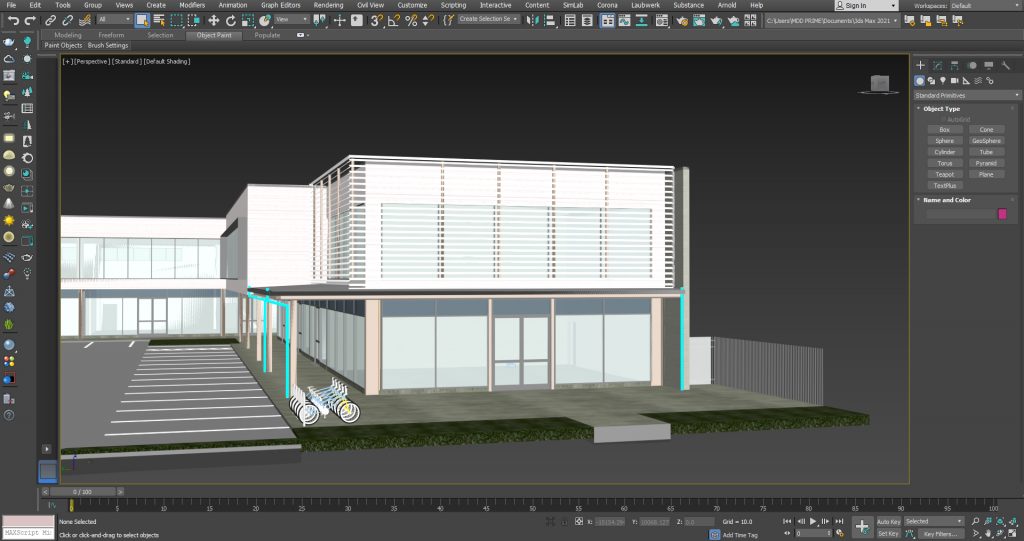
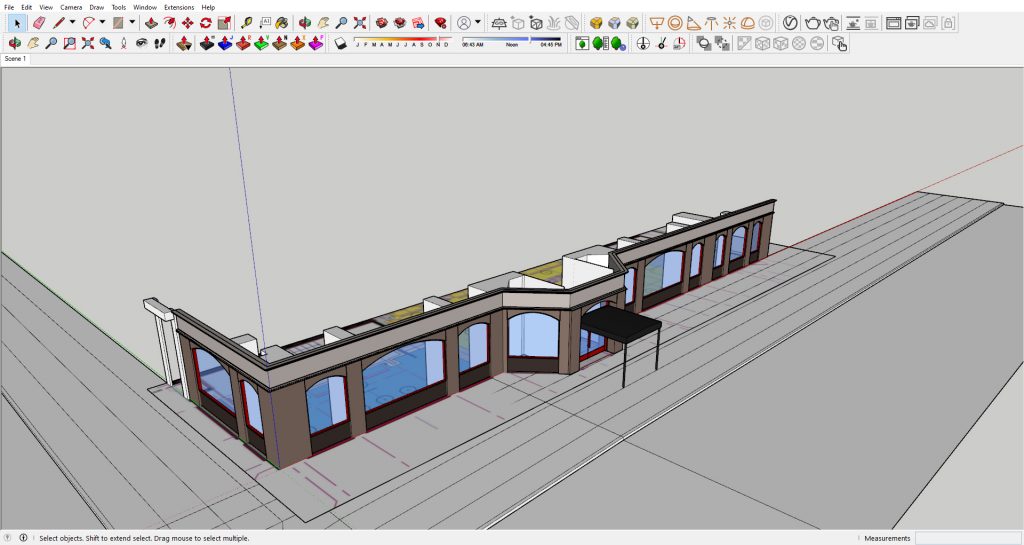
…and continue with the rest of the building.

10,000 hours later and we are done! Kidding, we are only given less than 48 hours for this project and building it in 3D is just half of the job.


It is important for us that every groove, relief, projection, molding is reflected as 3D. We believe the secret in a great architectural visualization is the high level of detail in the 3D model. Some parts of it we achieved using texture mapping but most of it we created by pushing and pulling.
LIGHTING TEST
Once we were satisfied with the base model, we exported the Sketchup file into 3Ds Max where we set up the lighting and did further detailing (the signages, interior shops, entourage).
To those wondering why we had to use Sketchup initially then switch to 3ds Max midway, it is because we work faster in Sketchup when it comes to Architectural modelling. After using Sketchup for more than 9 years, it is just more time efficient for us to use. However, we believe we can achieve better details in 3ds Max because of nicer 3D components and models available in our collection. More importantly, we can utilize Corona Renderer which is not available for Sketchup.


After another tedious process of 3D detailing and finally the light testing, here are clay models we created.


MATERIALS CHECK
Here we did a final review of materials and finishes using the images we have from Google Street View. Since we weren’t able to see the finishes in real life and were only relying on images taken on a specific time of day, we tried to recreate it using more or less the same environment.


THE FINAL IMAGES


Let us zoom into the renderings to appreciate the details and effort put into creating the building.


So that’s it! We appreciate your time in reading about the process behind these architectural visualizations. Let us know how we did. As for what the clients think, we are leaving you guys with this.

PHOTOGRAPHED

3D RENDERED


